Revolutionising Retail Media
Simplified, Scalable, Smarter
Unlock the full potential of retail media with the only aggregator designed specifically for retailers.


One Platform, All Publishers
Execute and manage campaigns effortlessly across multiple retail media networks—no more juggling multiple logins or platforms.

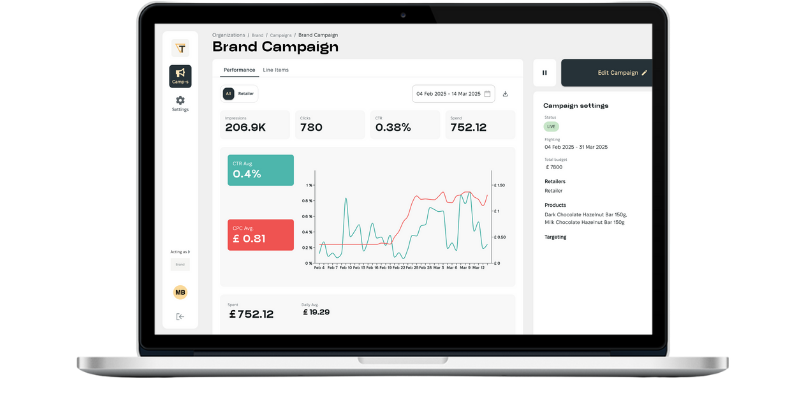
Unified, Actionable Insights
Access consolidated, standardized data in real time to make smarter decisions, faster. Our robust reporting and analytics empower you to act on insights with confidence.

AI-Driven Efficiency
Leverage machine learning and automation to optimize campaigns at scale. Focus on strategic growth while our intelligent technology handles the heavy lifting.
Why Triffecta?
- ▼
Built for Retail: We understand the nuances of retail media and have designed every feature with your needs in mind.
- ▼
Scalable Solutions: Whether you’re managing a single store or multiple brands, our platform adapts to your growth.
- ▼
Seamless Onboarding & Support: Our dedicated customer success team is here to ensure you’re up and running in no time.
Ready to Simplify, Scale, and Succeed?
Discover how Triffecta can revolutionize your retail media campaigns.

Book a product demo
Use the calendar to schedule a call with one of our experts.
Let’s discuss how to:
- ▼
Setup a frictionless campaign in under one minute
- ▼
Optimize tracking to scale performance effortlessly
- ▼
Reach key performance metrics with real-time data